API Protection > Class - API Protection > Module 1 - Deploy an API Protection Profile Source |
Lab 1.4 - Test Course-Grained Access
In this section, you will sample API requests to the new created api.acme.com virtual server to test functionality
Task 1 - Send a valid GET without JWT to retrieve user’s attributes 1
- From the Jumpbox, open Postman

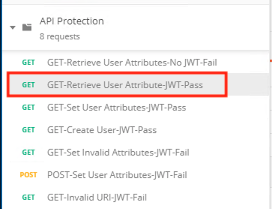
- Expand the API Protection Collection
- Select the request GET-Retrieve User Attributes-No JWT-Fail

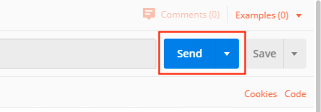
- Click Send
- You receive a 403 Forbidden response status code since you do not have a valid JWT

Task 2 - Send a valid GET with JWT to retrieve user1’s attributes
- Select the request GET-Retrieve User Attributes-JWT-Pass
- Select the Authorization tab
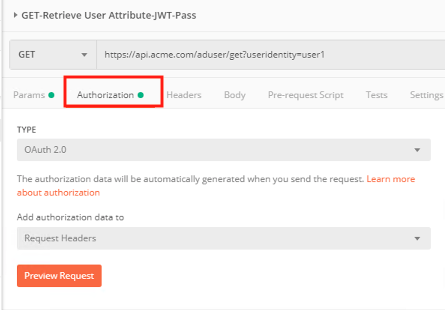
- Click Get New Access Token

- Enter User1 for the Token Name and review the Postman Configuration. Nothing else should need to be modified
- Click Request Token
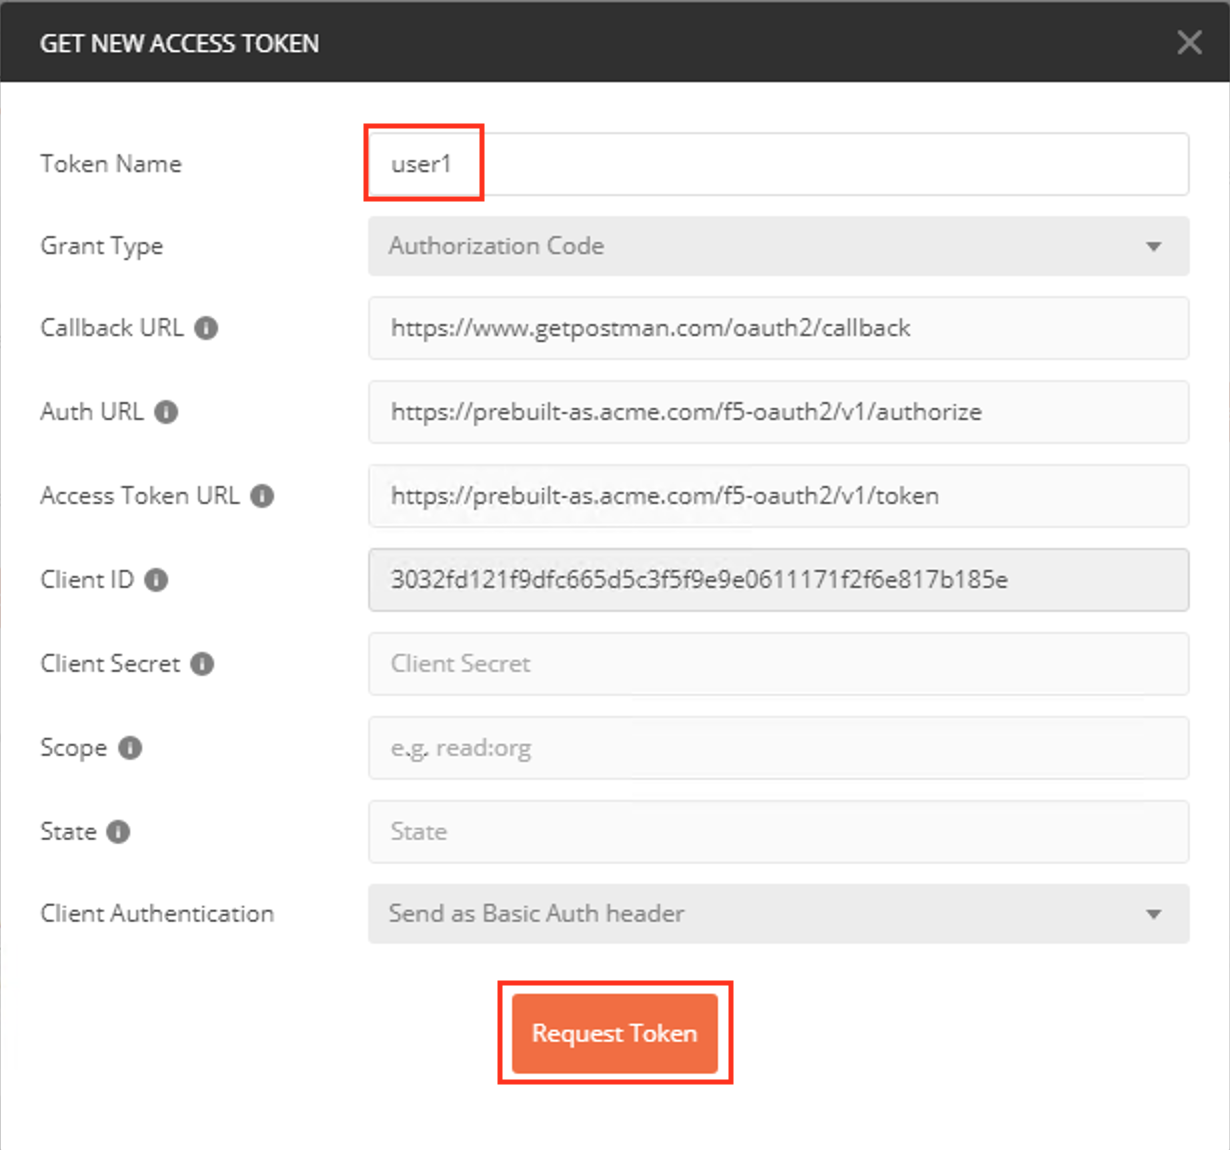
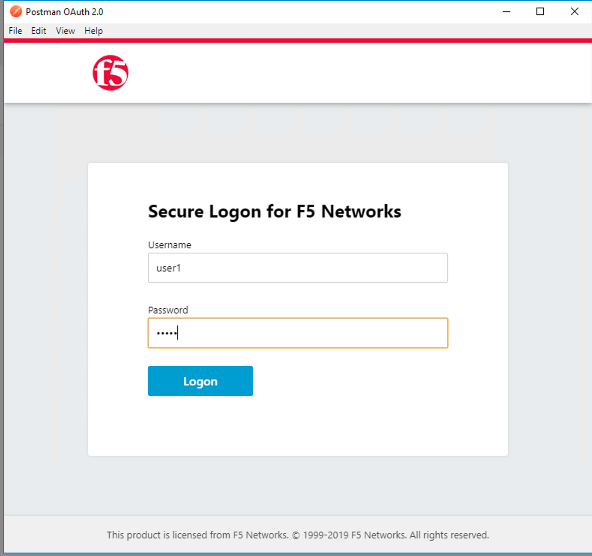
- Login using Username: user1, Password: user1
- Scroll down to the token and click Use Token
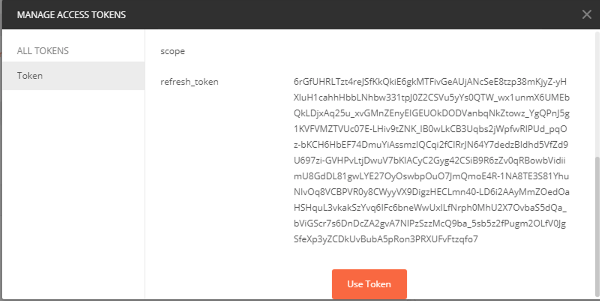
- Notice the Access Token field is now populated

- Click Send
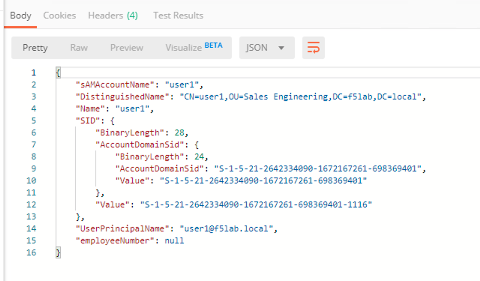
- You receive a 200 OK response status code with attributes for user1 in the body of the response
Task 3 - Send a valid GET with JWT to set user1’s employeeNumber
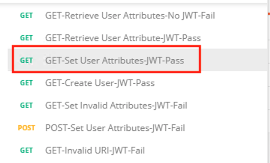
- Select the request GET-Set User Attributes-JWT-Pass
- Select the Authorization tab
- Select the previously created User1 token from the Available Tokens dropdown

- The Token field is now populated
- Click Send
Note
If you receive a 403 response status code, repeat steps 10-13 to request a new token. You can change the name of the token request prior to sending by setting the Token Name.
Note
You can delete expired tokens by clicking the Available Tokens dropdown, clicking Manage Tokens, and then clicking the trashcan next to the Token.
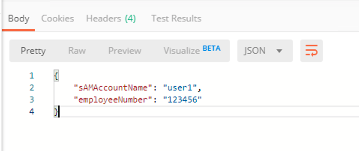
- You receive a 200 OK response status code with a response body that contains user1’s employeeNumber 123456
Task 4 - Send a valid GET with JWT to create a user
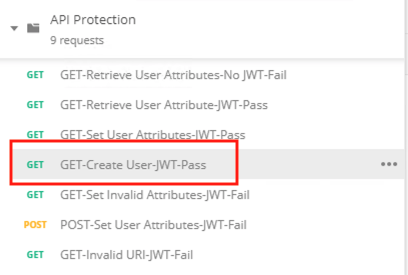
- Select the request GET-Create User-JWT-Pass
- Select the Authorization tab
- Select the previously created User1 token from the Available Tokens dropdown
- Click Send
Note
If you receive a 403 response status code, repeat steps 10-13 to request a new token. You can change the name of the token request prior to sending by setting the Token Name.
Note
You can delete expired tokens by clicking the Available Tokens dropdown, clicking Manage Tokens, and then clicking the trashcan next to the Token.
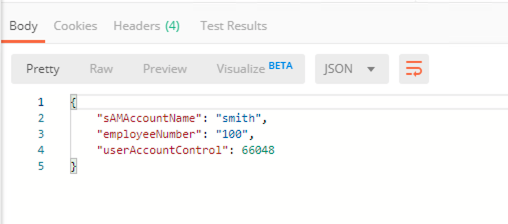
5. You receive a 200 OK response status code with a response body that contains Bob Smith’s user attributes
Task 4 - Send invalid GET request with JWT to set a nonexistent user’s attributes
- Select the request GET-Set Invalid Attributes-JWT-Fail

- Select the Authorization tab
- Select the previously created User1 token from the Available Tokens dropdown
- The Token field is now populated
- Click Send
Note
If you receive a 403 response status code, repeat steps 10-13 to request a new token. You can change the name of the token request prior to sending by setting the Token Name.
Note
you can delete expired tokens by clicking the Available Tokens dropdown, clicking Manage Tokens, and then clicking the trashcan next to the Token.
- You receive a 400 Bad Request response status code. The request successfully passed through the API Gateway, but the server failed to process the request.

Task 6 - Send a POST request to a valid URI to set User1’s attributes
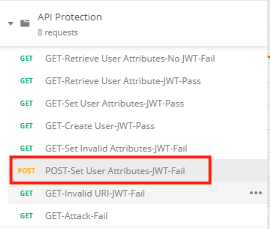
- Select the request POST-Set User Attributes-JWT-Fail
- Select the Authorization tab
- Select the previously created User1 token from the Available Tokens dropdown
- The Token field is now populated
- Click Send
- You receive a 403 Forbidden response status code. This is expected because the POST Method was not specified in the API Protection Profile for the path /aduser/get

Task 7 - Send a GET request to an invalid URI
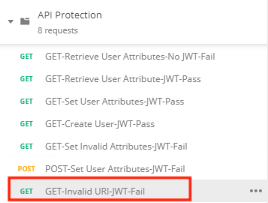
- Select the request GET-Invalid URI-JWT-Fail
- Select the Authorization tab
- Select the previously created User1 token from the Available Tokens dropdown
- The Token field is now populated
- Click Send
- You receive a 403 Forbidden response status code. This is expected because the path //hacker//attack was not specified in the API Protection Profile