API Protection > Class - API Protection > Module 1 - Deploy an API Protection Profile Source |
Lab 1.5 - Implement Fine-Grained Access Controls
Up to this point any authenticated user to the API is authorized to use them. In this section we will restrict user1’s ability to create users, but will still be able to modify the user’s employee number.
Task 1 - Retrieve Group Membership Subsession Variable
Note
In order to implement fine-grained control the session variables that contain the data must be known. This first session shows you how to display the session variables and their values.
- From the Jumpbox desktop click on the BIG-IP1 Putty icon
- Enter the command sessiondump –delete all to remove any existing APM sessions

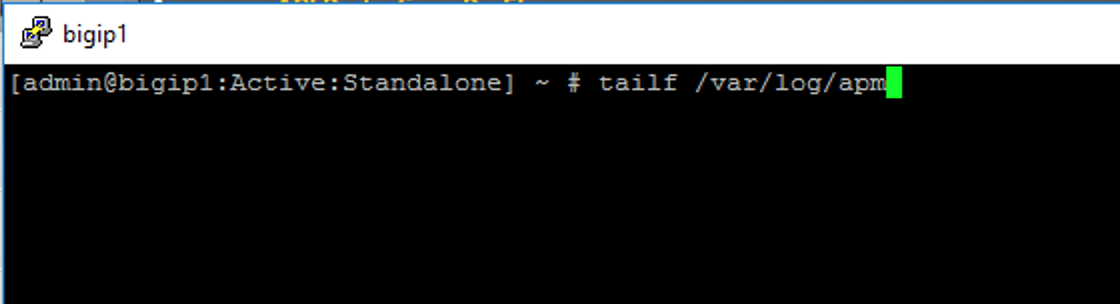
- Enter the command tailf /var/log/apm. Hit enter a few times to create some space on the screen
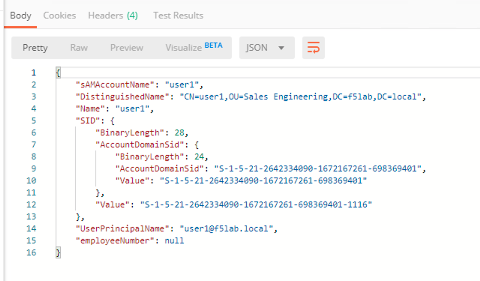
- From Postman, Select the request GET-Retrieve User Attributes-JWT-Pass. The Authorization field should already be populated with User1’s token.
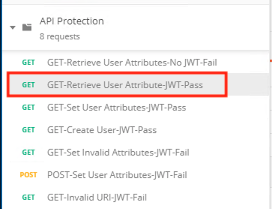
- Click Send
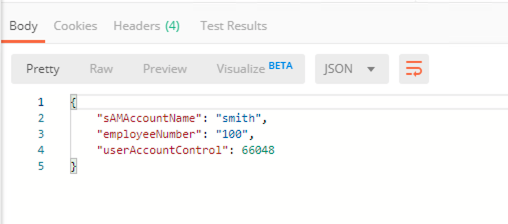
- You receive a 200 OK response status code with attributes for user1 in the body of the response
Note
Your SessionID will be different
- Return to the CLI and examine the logs. You will see a message about a new subsession being created. Copy the subsession ID

- Exit the logs using Ctrl+Z
- Enter the command sessiondump -subkeys <subsessionID>

- Scroll through input until you find the session variable for subsession.oauth.scope.last.jwt.groups

Task 2 - Edit the per-request policy
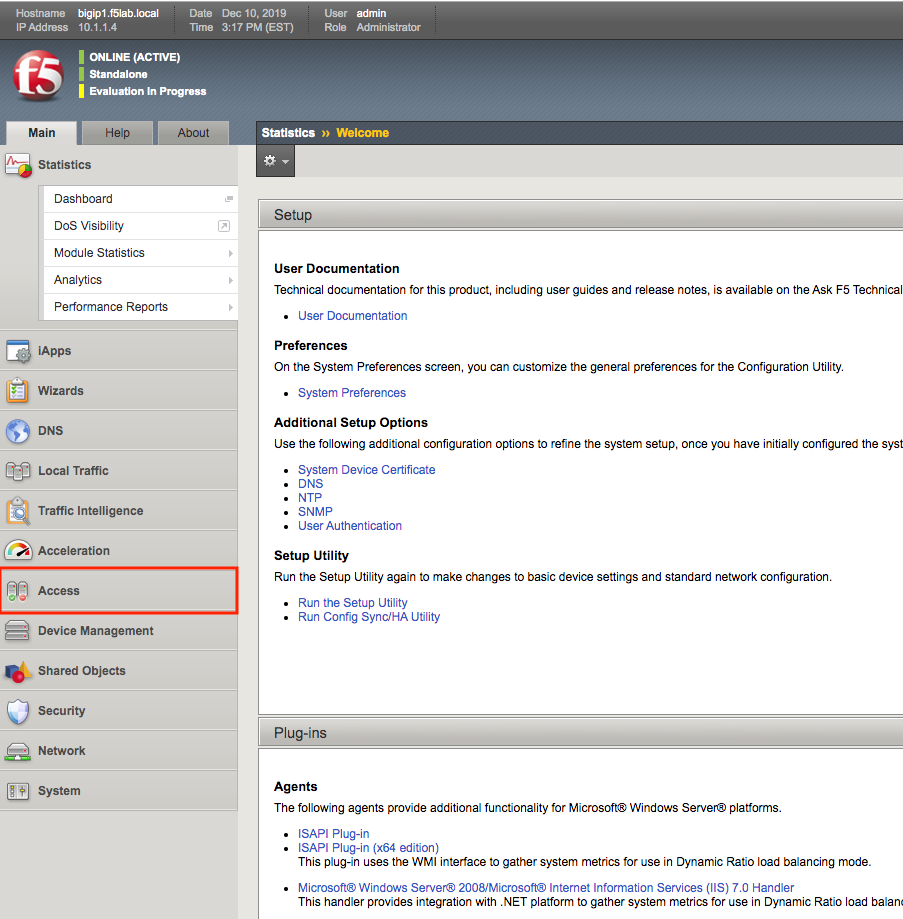
- Return to BIG-IP1’s management interface in the browser and click on the Access tab located on the left side
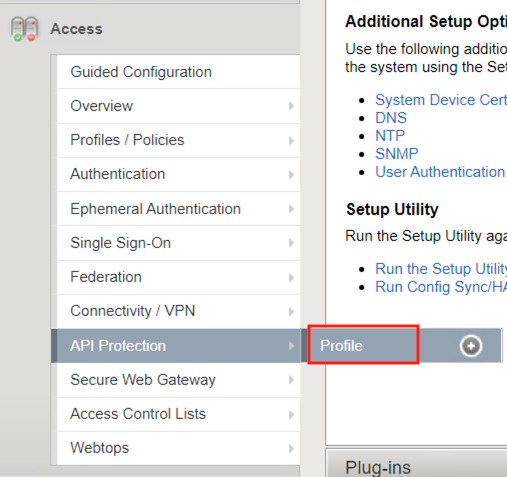
- Navigate to API Protection >> Profile. Click Profile to modify the previously created API protection Profile (not the + Plus symbol)
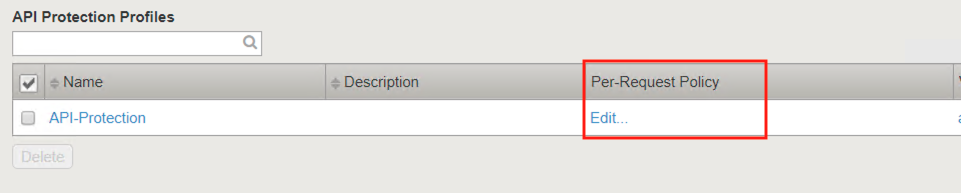
- Click Edit Under Per-Request Policy
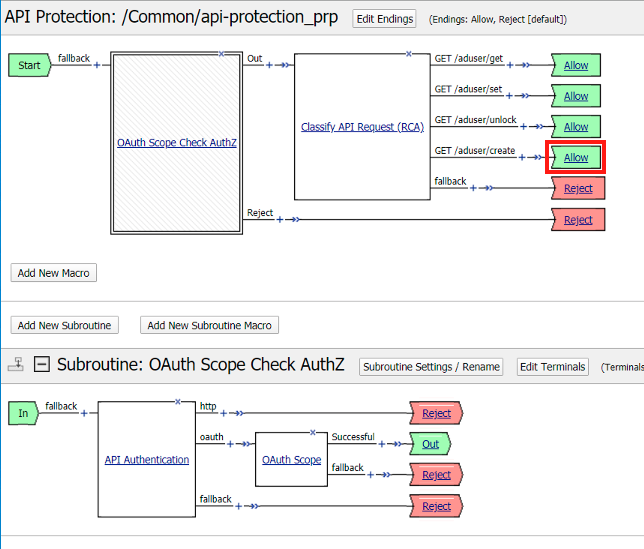
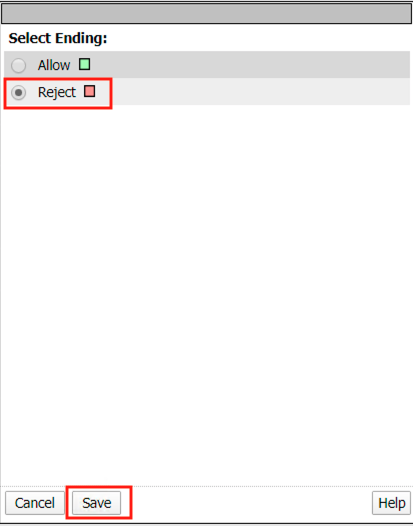
- Click the Allow terminal located at the end of the GET /aduser/create branch
- Select Deny
- Click Save
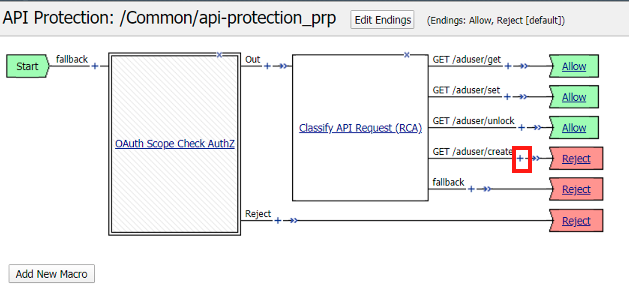
- Click the + (Plus Symbol) on the GET /aduser/create branch
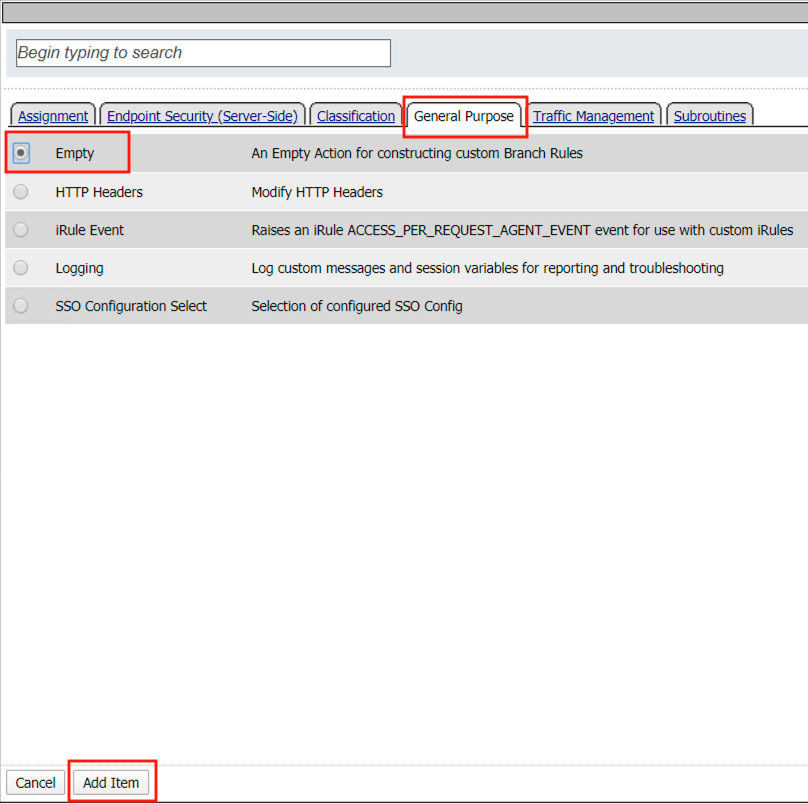
- Click the General Purpose tab
- Select Empty
- Click Add Item
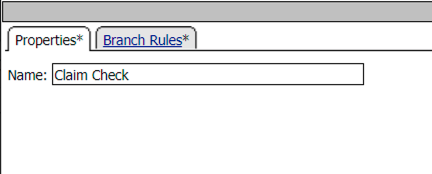
- Enter the name Claim Check
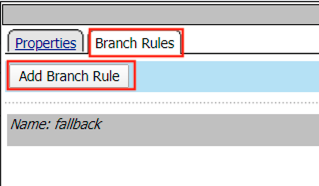
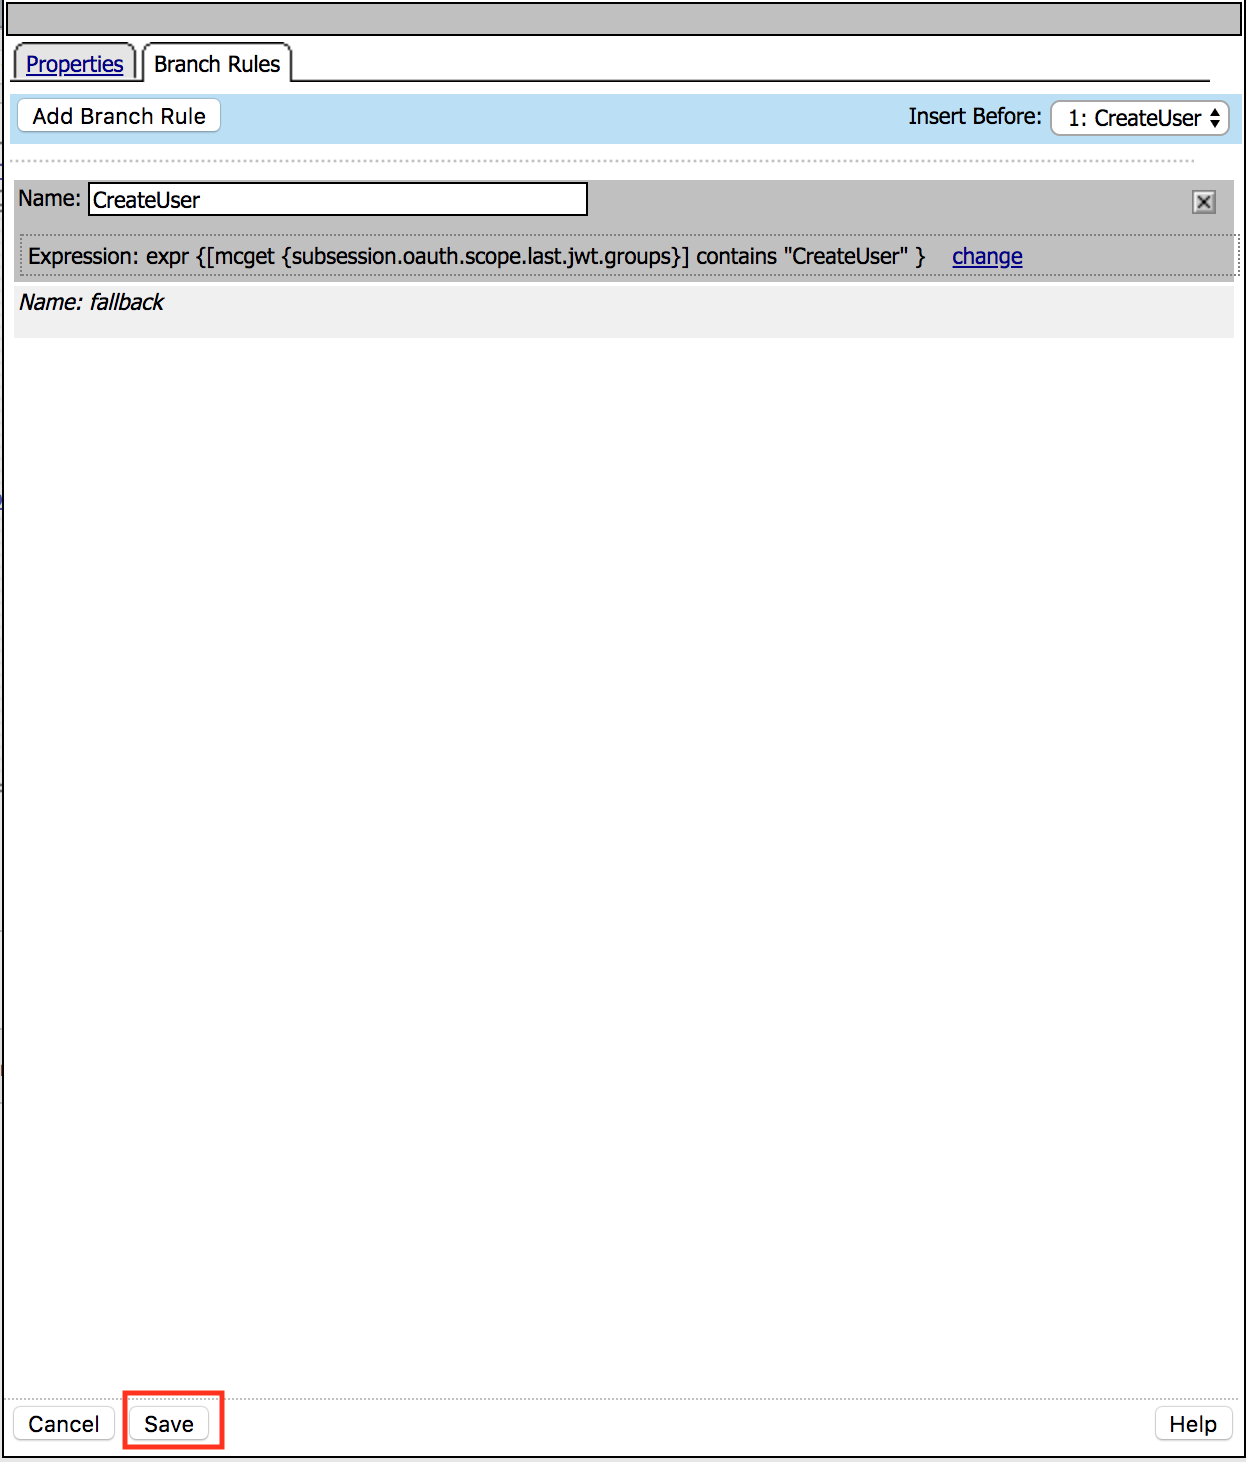
- Click the Branch Rules tab
- Click the Add Branch Rule
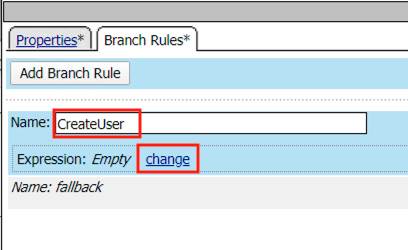
- Enter Name CreateUser
- Click Change
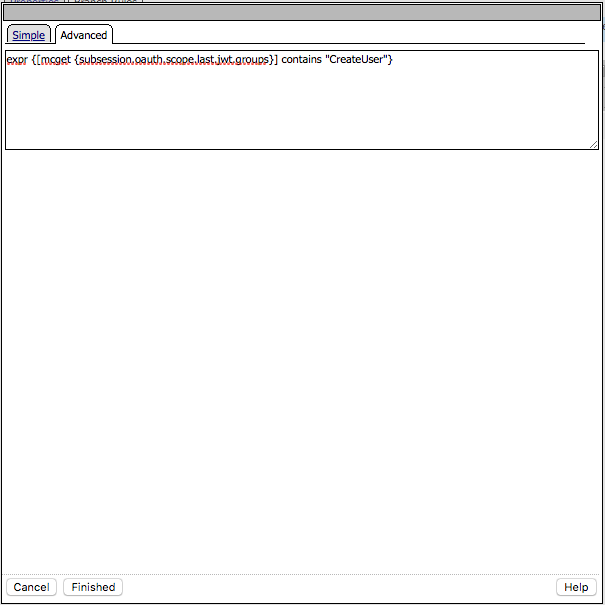
- Click the Advanced tab
- Enter the string in the notes section to restrict access to only members of the CreateUser Group.
- Click Finished
Note
expr {[mcget {subsession.oauth.scope.last.jwt.groups}] contains “CreateUser”}
- Click Save
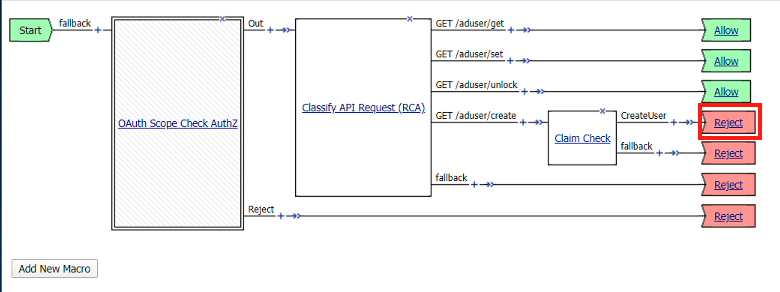
- Click Reject on the CreateUser Branch to permit access
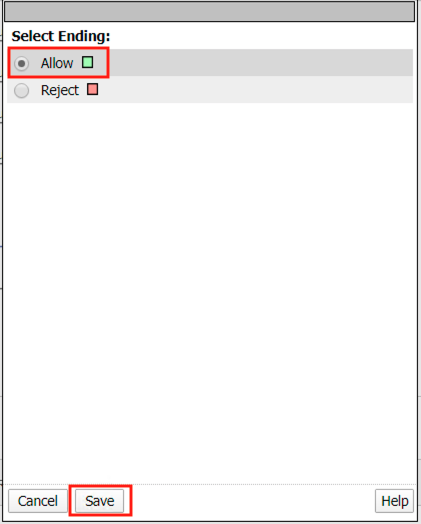
- Select Allow
- Click Save
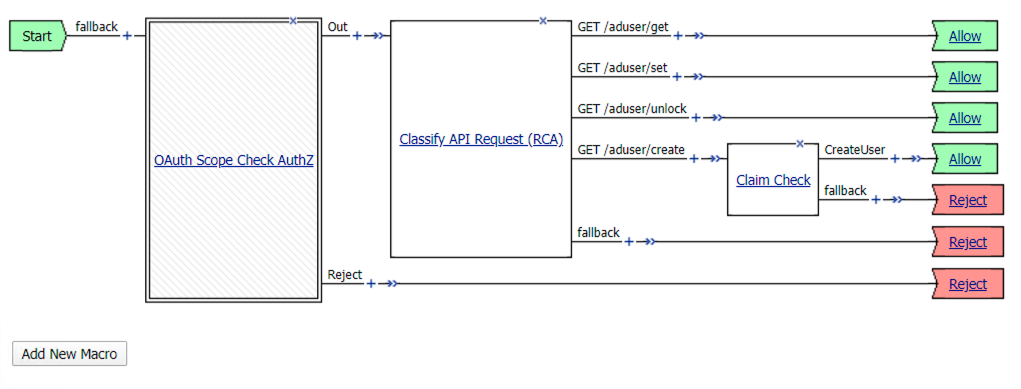
- Review the Policy Flow
Task 3 - Test the Fine-Grained Access Control with user1
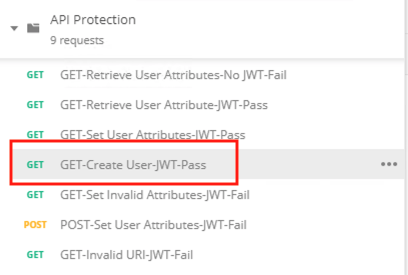
- From Postman select the request GET-Create User-JWT-Pass
- Select the Authorization Tab
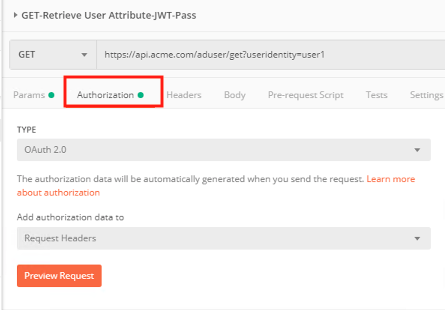
- Select the previously created User1 token from the Available Tokens dropdown
- The Token field is now populated
- Click Send
- You receive a 403 Forbidden response status code when using user1. User1 does not contain the proper claim data.

Task 4 - Test the Fine-Grained Access Control with user2
- Select the request GET-Create User-JWT-Pass
- Select the Authorization tab
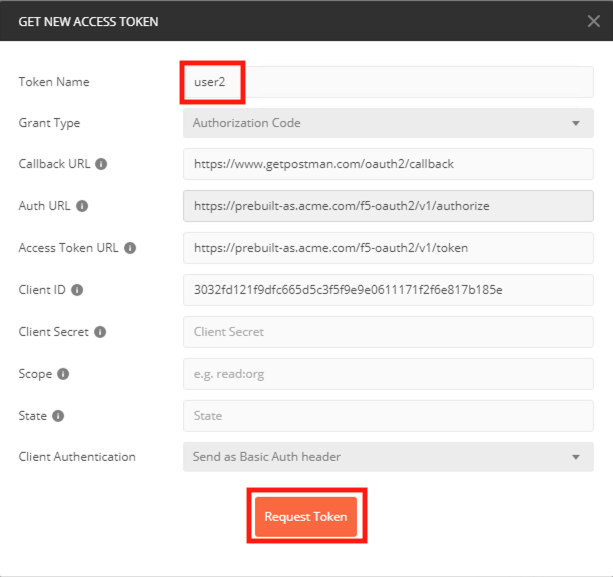
- Click Get New Access Token

- Enter User2 for the Token Name and review the Postman Configuration. Nothing else should need to be modified
- Click Request Token
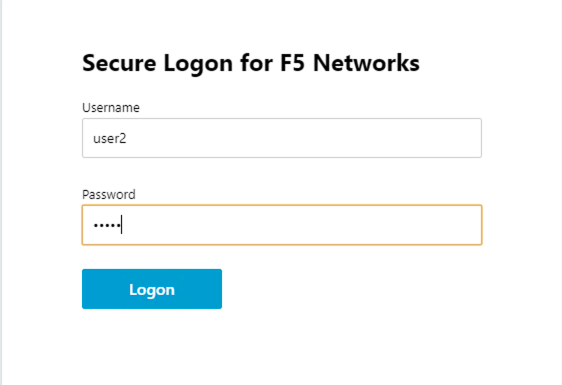
- Login using Username: user2, Password: user2
- Scroll down to the token and click Use Token
- The Token field is now populated
- Click Send
- You receive a 200 OK response status code when using user2. User2 does contain the proper claim data