API Protection > Class - API Protection > Module 1 - Deploy an API Protection Profile Source |
Lab 1.6 - Implement Rate Limiting
The API Protection Profile allows a BIG-IP administrator to throttle the amount of connections to an API through the use of Key Names.
Task 1 - Test access pre-ratelimiting
- From Postman, Select the request GET-Retrieve User Attributes-JWT-Pass
- Click Save, so the current token is saved as part of the API request.

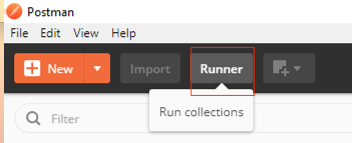
- Click Runner located in the left corner
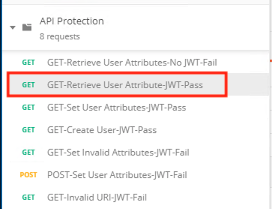
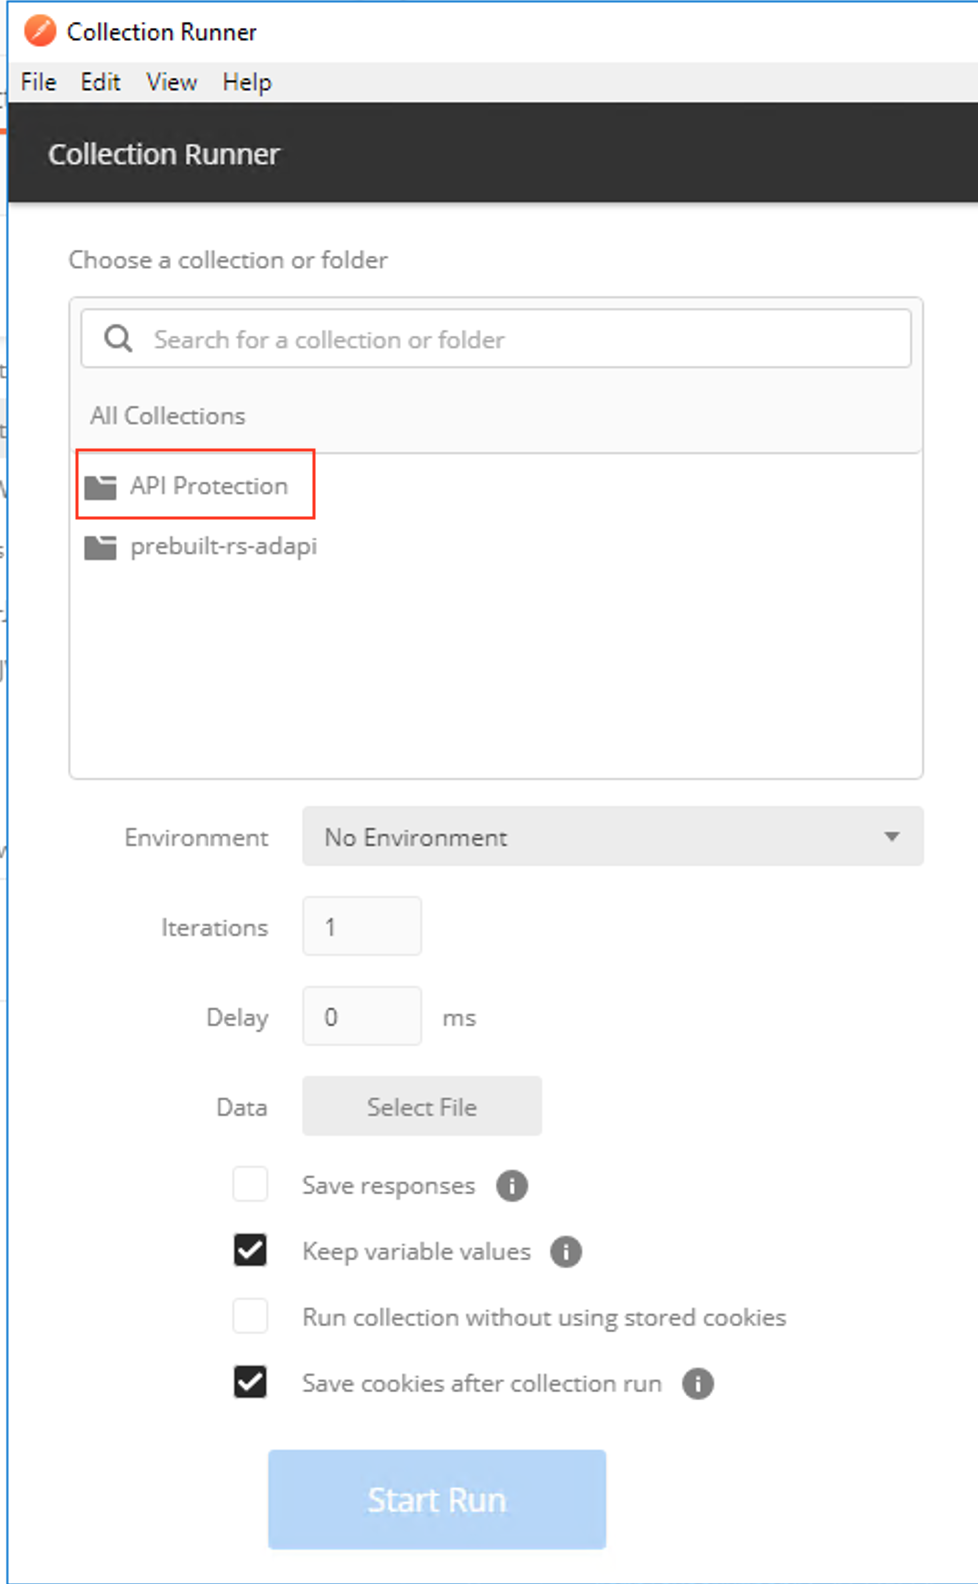
- Expand the API Protection collection
- Deselect all requests except GET-Retrieve User Attributes-JWT-Pass
- Set the iterations to 100
- Click Run API Protection
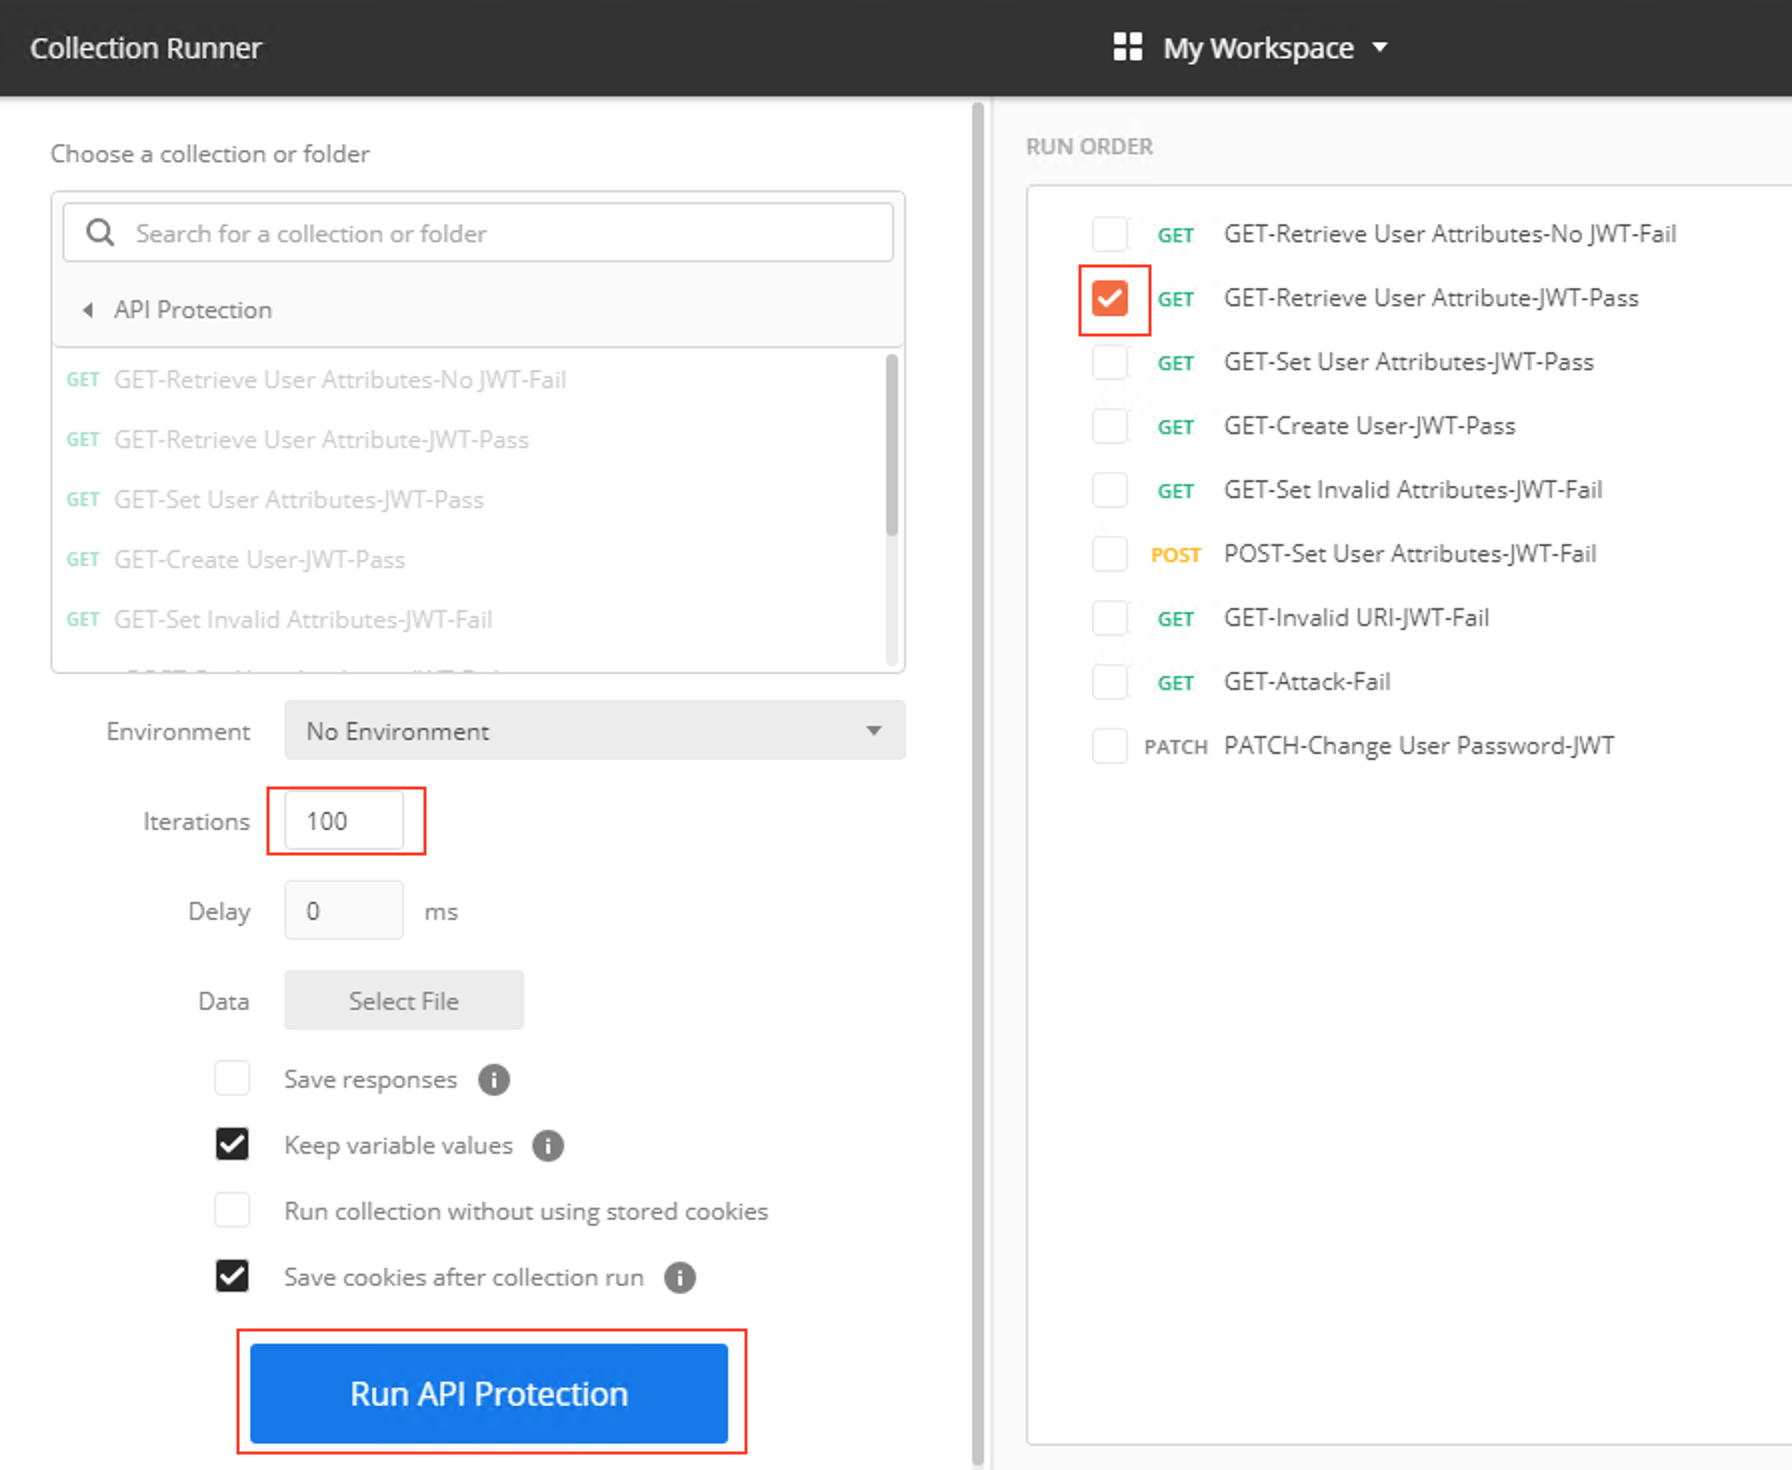
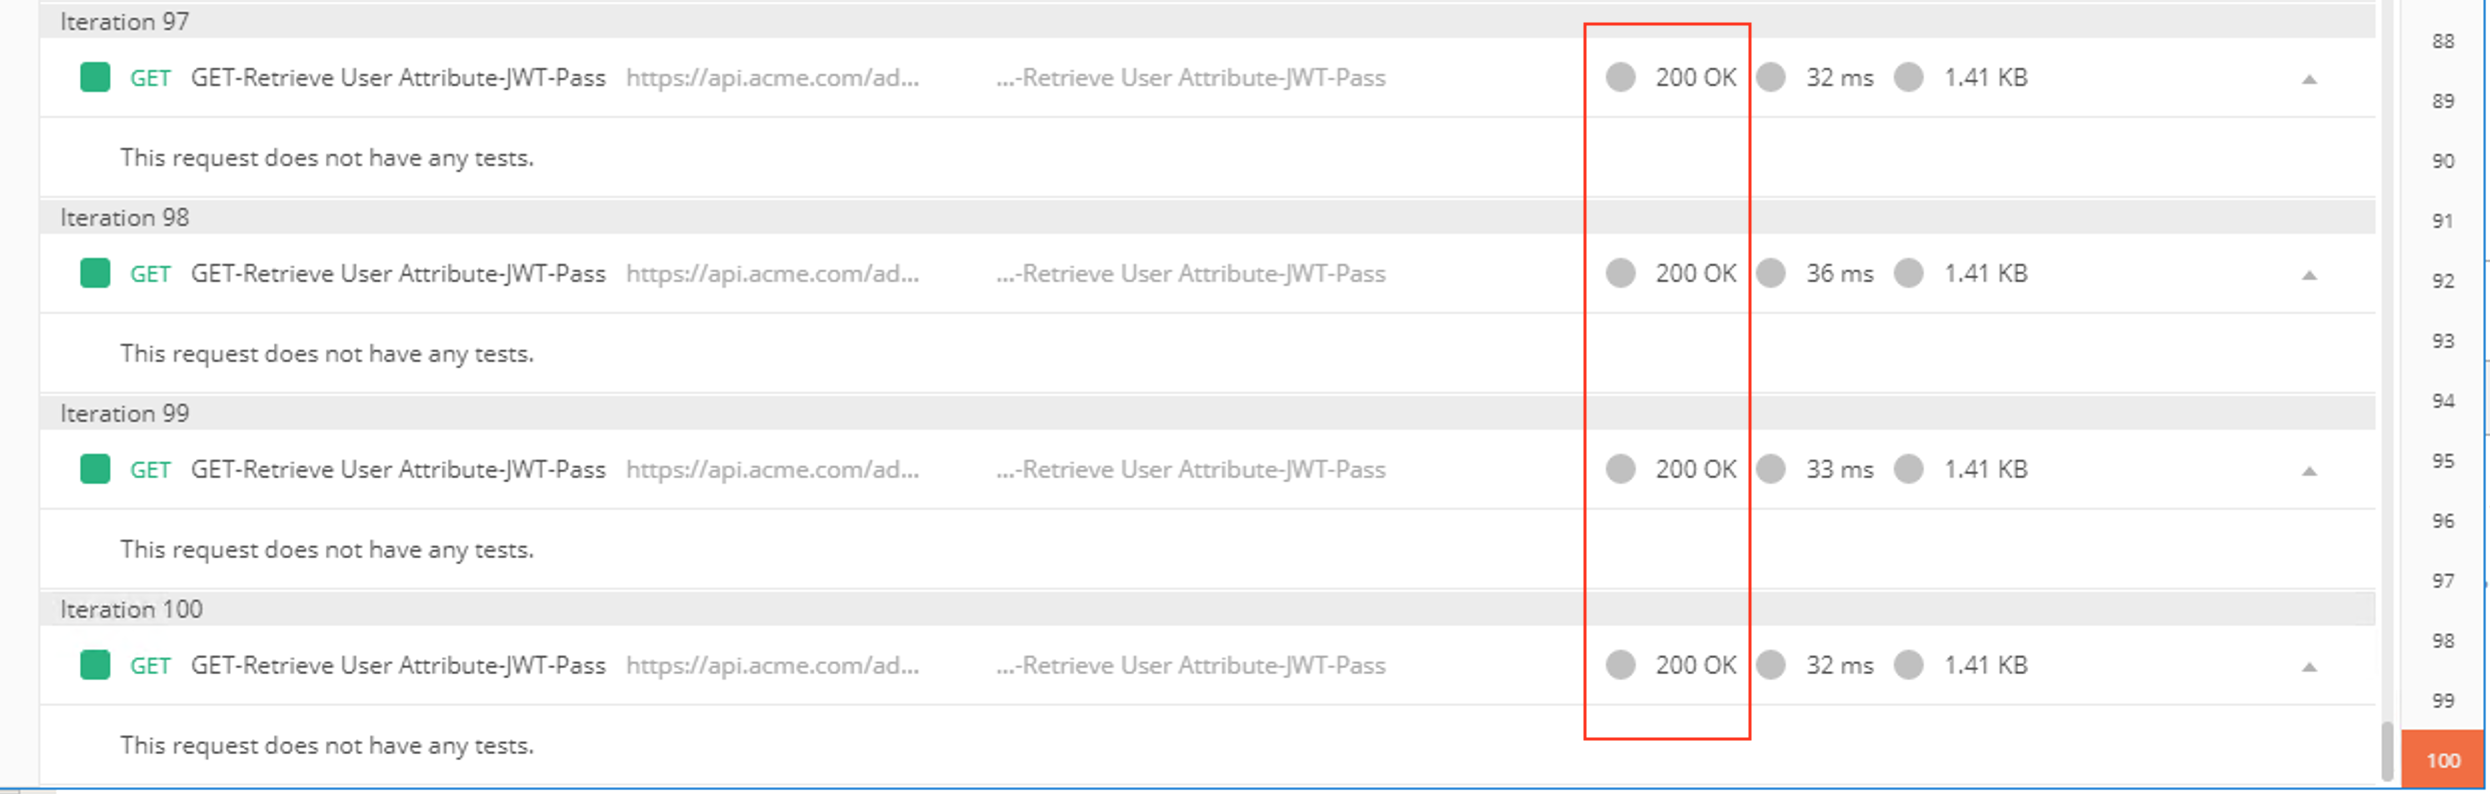
- You receive a 200 OK for every request. Leave Runner open
Task 2 - Define the rate limiting keys
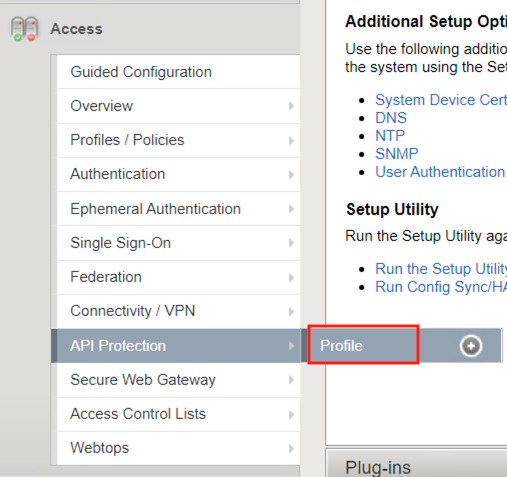
- Navigate to API Protection >> Profile. Click Profile to modify the previously created API protection Profile. Not the + Plus symbol.
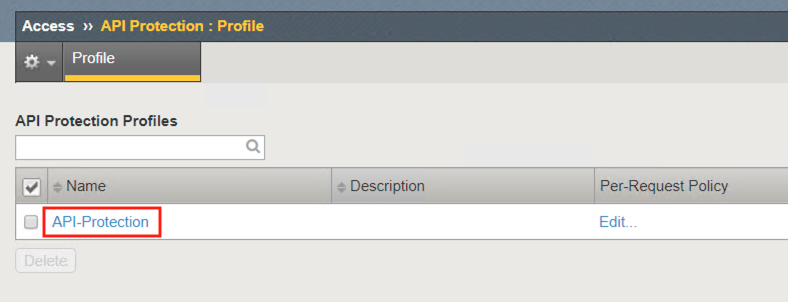
- Click api-protection
- Click Rate Limiting from the top ribbon
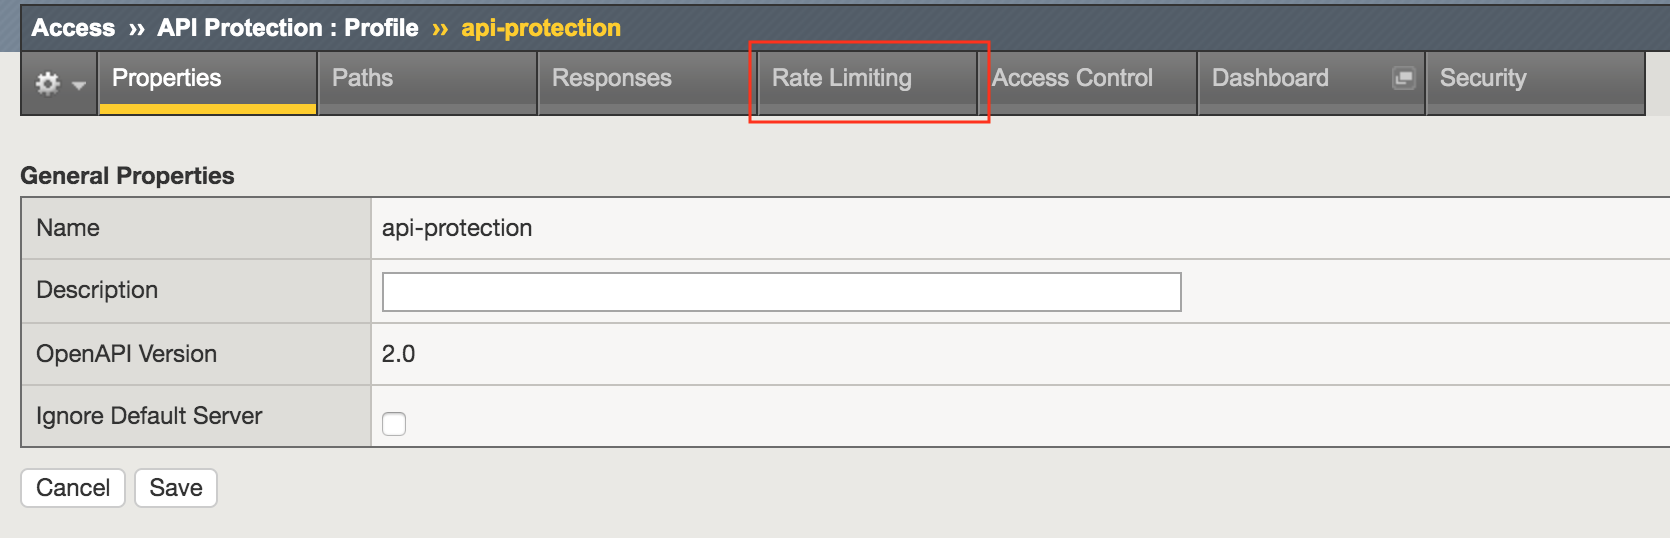
Note
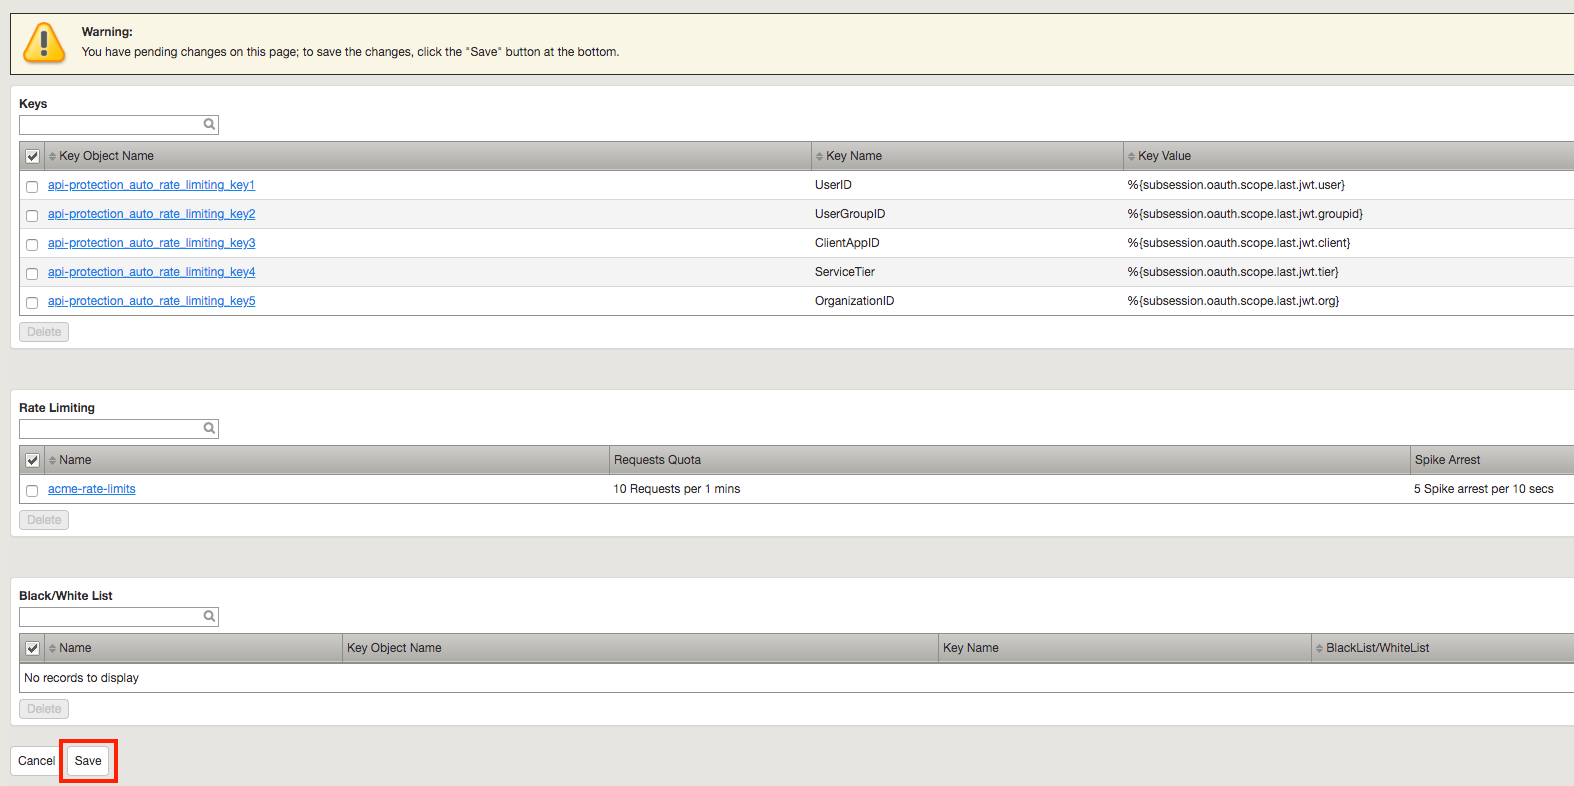
The API protection profile default settings contains five Key Names created, but their values are empty. Additional Keys can be created if necessary
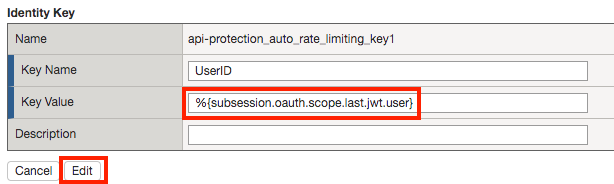
- Click api-protection_auto_rate_limiting_key1

- Enter the Key Value %{subsession.oauth.scope.last.jwt.user}
- Click Edit
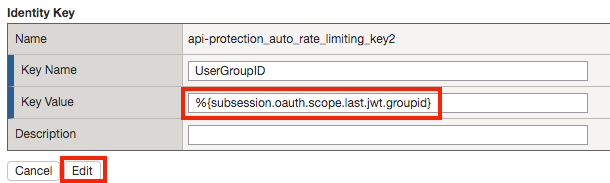
- Click api-protection_auto_rate_limiting_key2
- Enter the Key Value %{subsession.oauth.scope.last.jwt.groupid}
- Click Edit
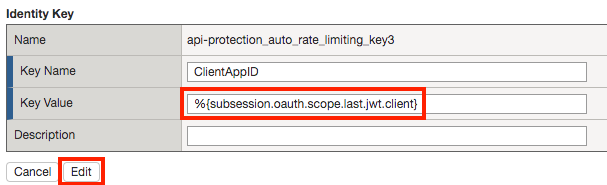
- Click api-protection_auto_rate_limiting_key3
- Enter the Key Value %{subsession.oauth.scope.last.jwt.client}
- Click Edit
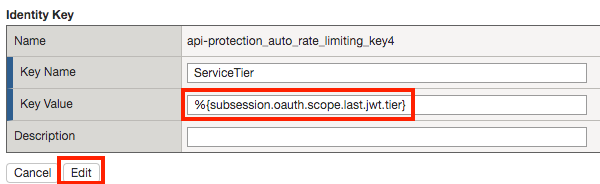
- Click api-protection_auto_rate_limiting_key4
- Enter the Key Value %{subsession.oauth.scope.last.jwt.tier}
- Click Edit
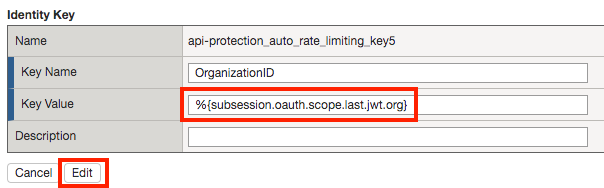
- Click api-protection_auto_rate_limiting_key5
- Enter the Key Value %{subsession.oauth.scope.last.jwt.org }
- Click Edit
- Click Save

Task 3 - Create a Rate Limiting Policy
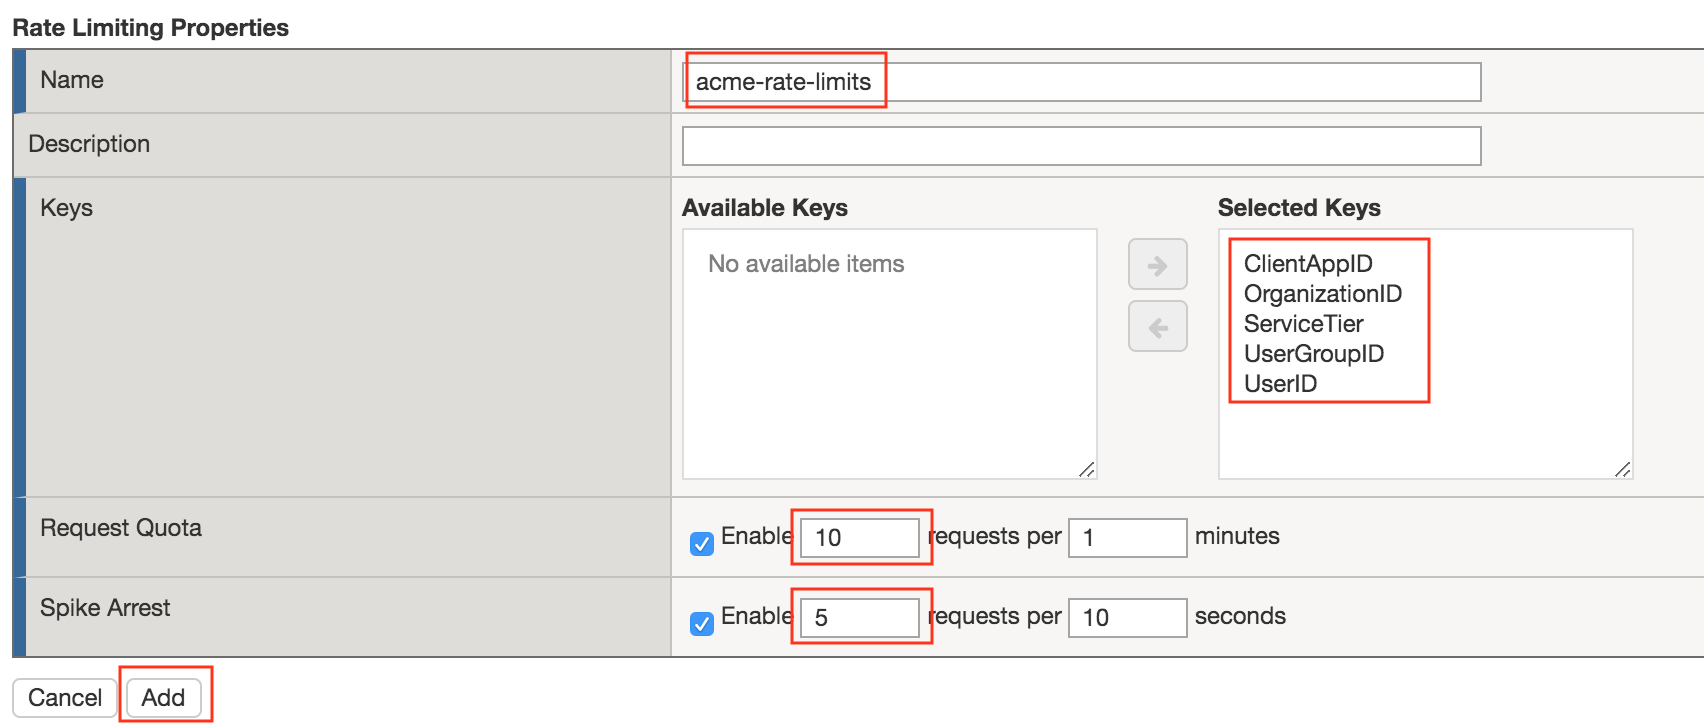
- Click Create in the rate limiting section

- Enter the Name acme-rate-limits
- Move all five keys under Selected Keys
- Enter 10 for the number of requests per minute
- Enter 5 for the number requests per second
- Click Add.
- Click Save
Task 4 - Apply the Rate Limiting Policy
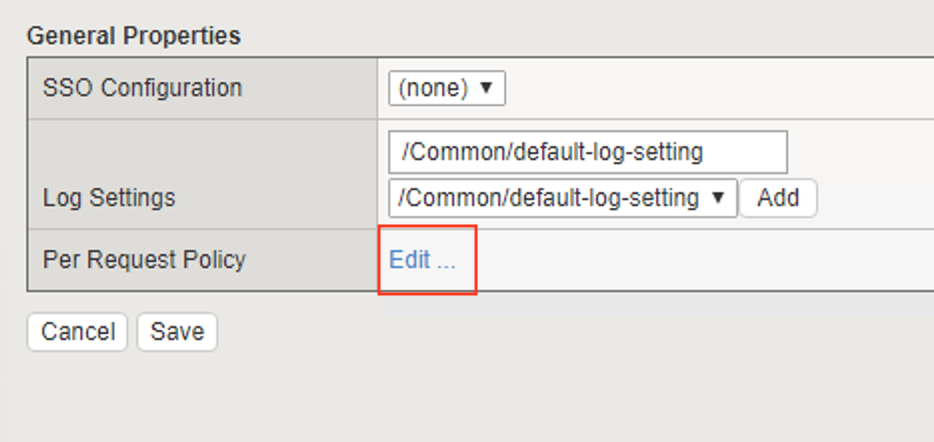
- Click Rate Limiting from the ribbon

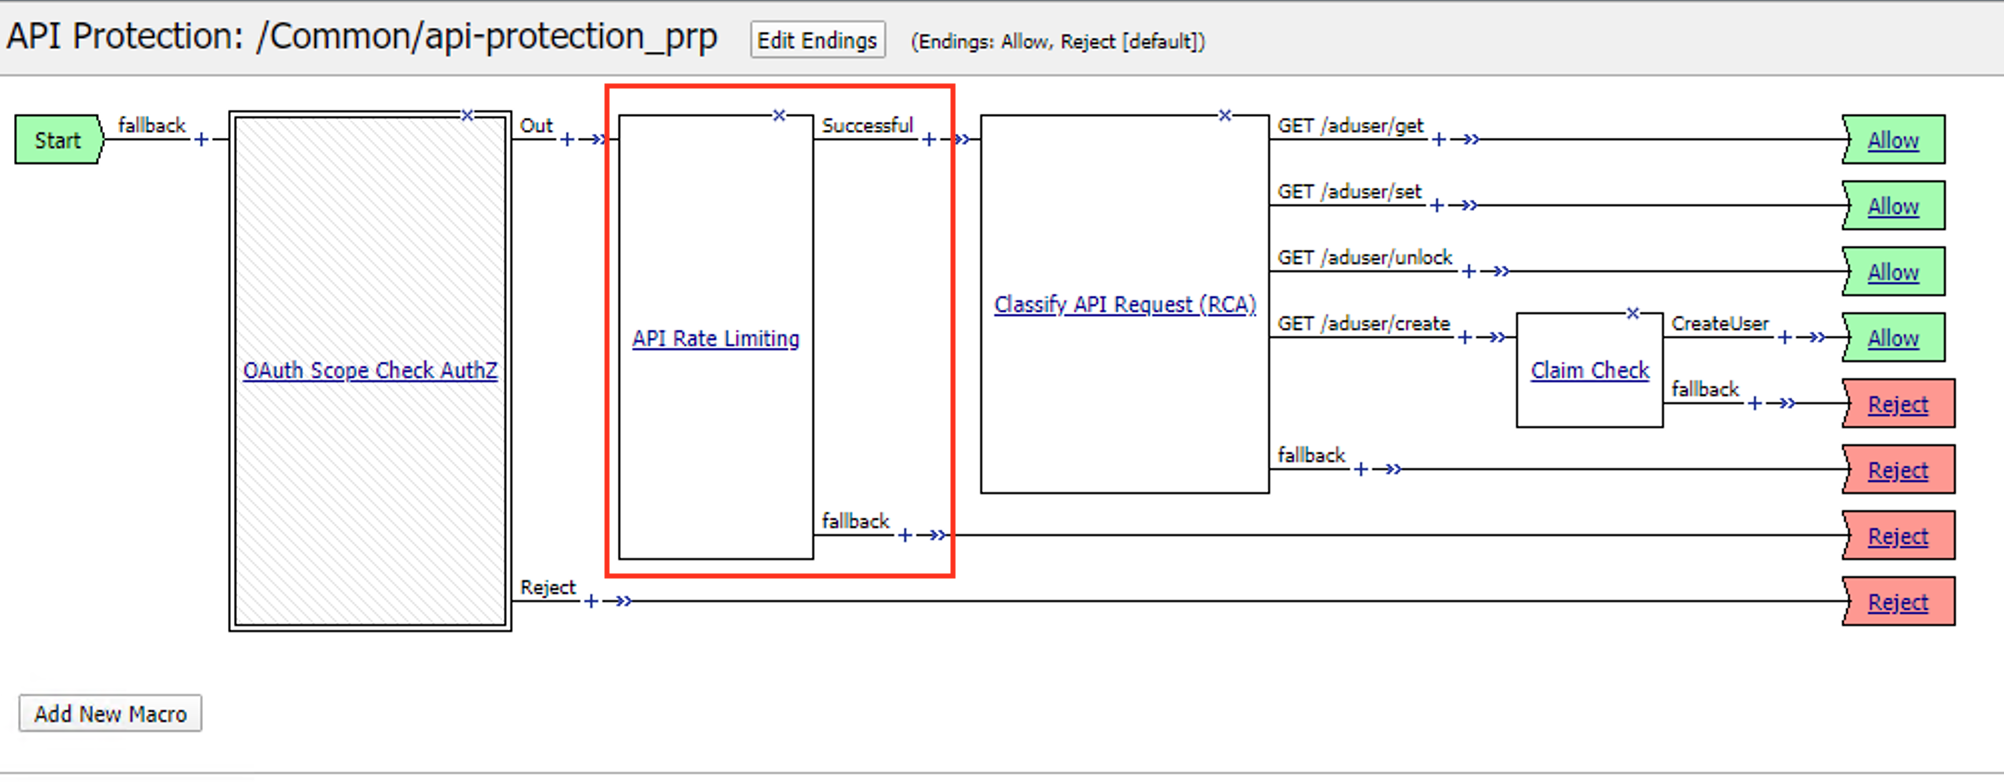
- Click Edit Per Request Policy
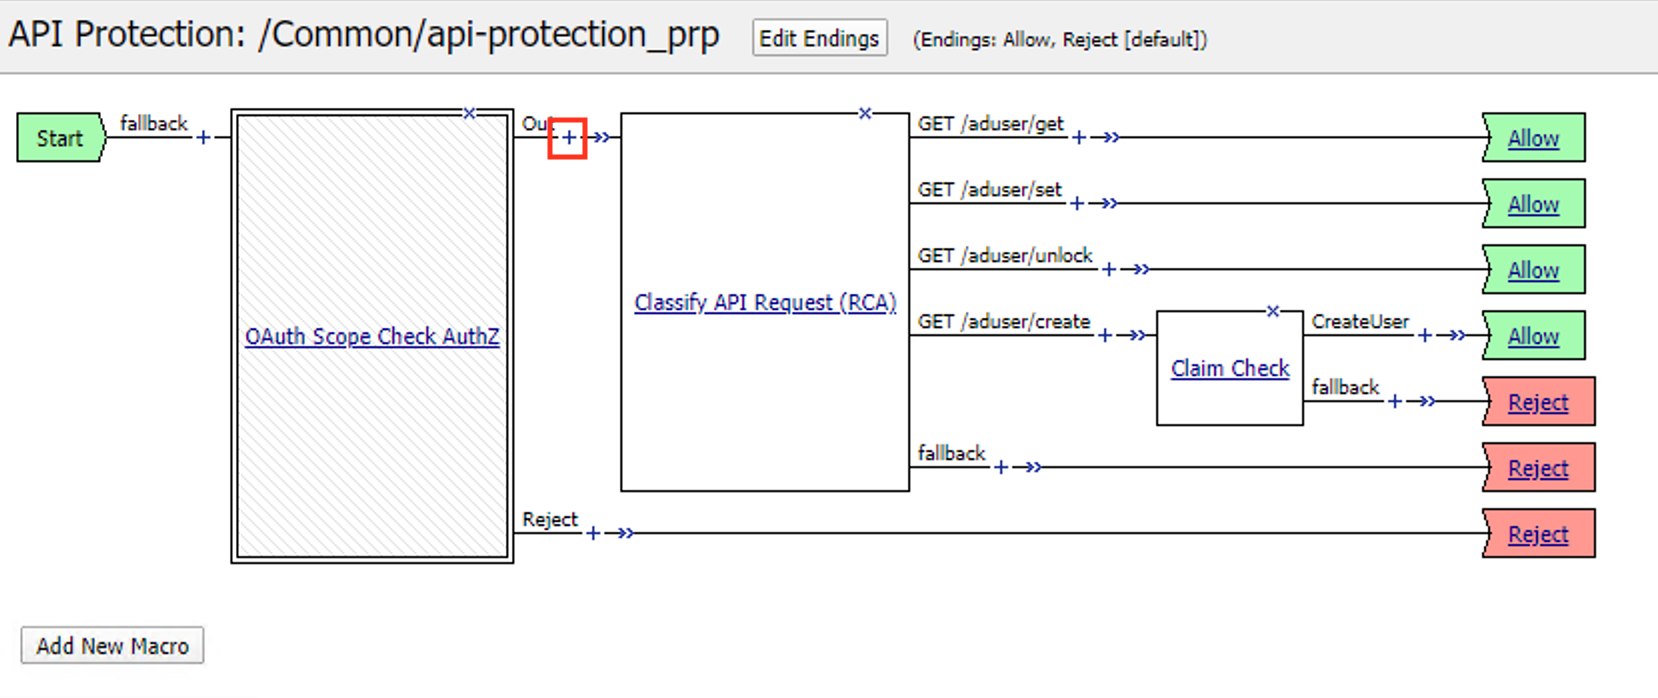
- Click the + (Plus Symbol) on the Out branch of the OAuth Scope Check AuthZ Macro
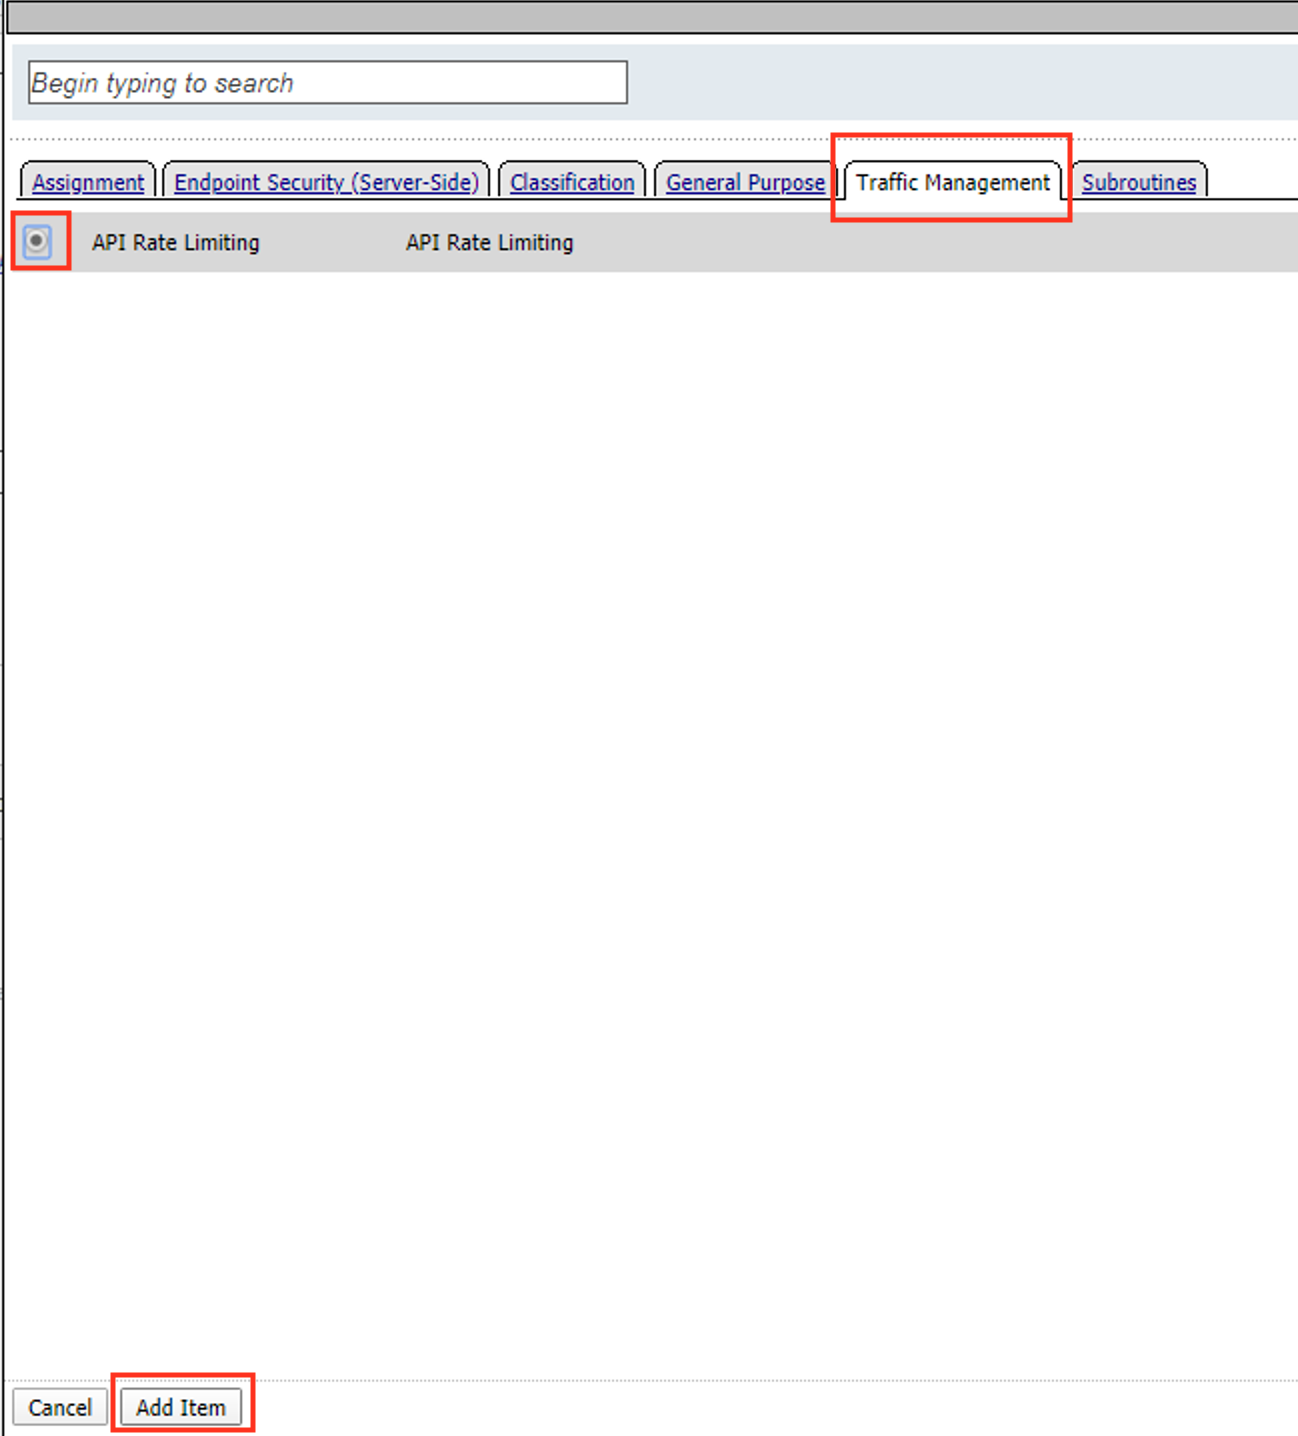
- Click the Traffic Management tab
- Select API Rate Limiting
- Click Add Item
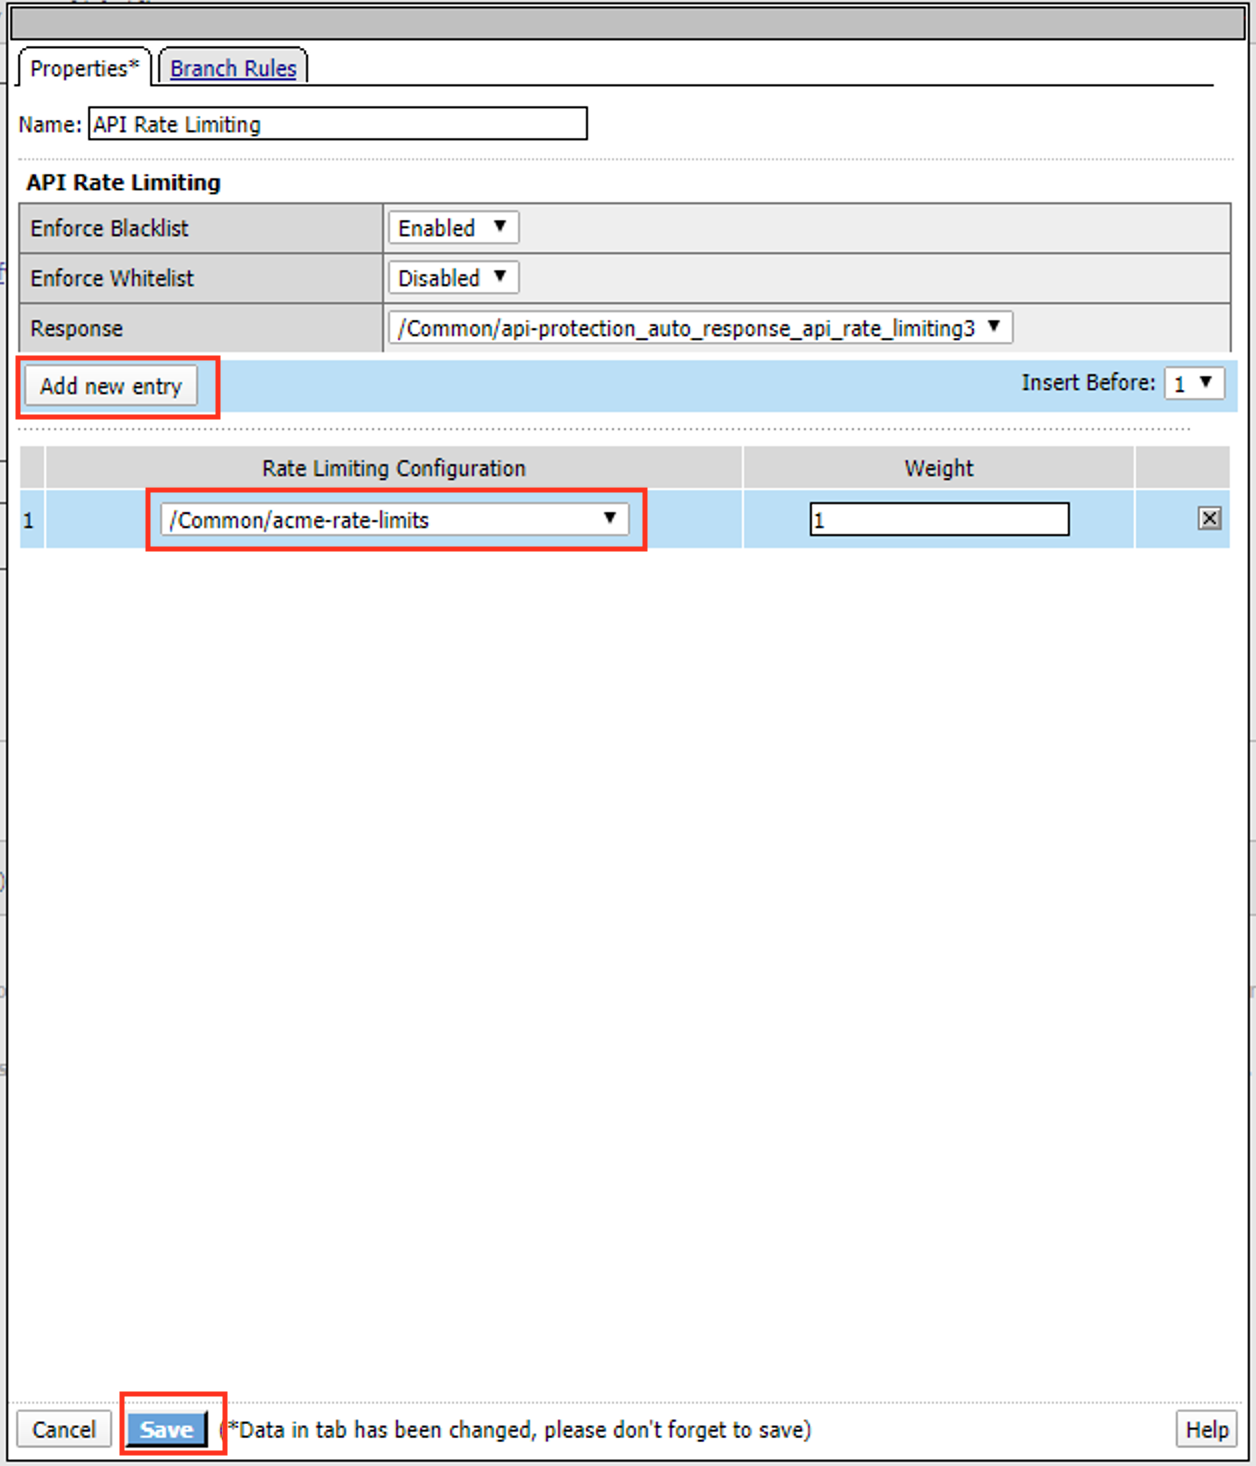
- Click Add new entry
- Select acme-rate-limits
- Click Save
- Verify the Rate Limiting agent now appears in the appropriate location
Task 5 - Test Rate Limiting
- From Postman, return to Runner
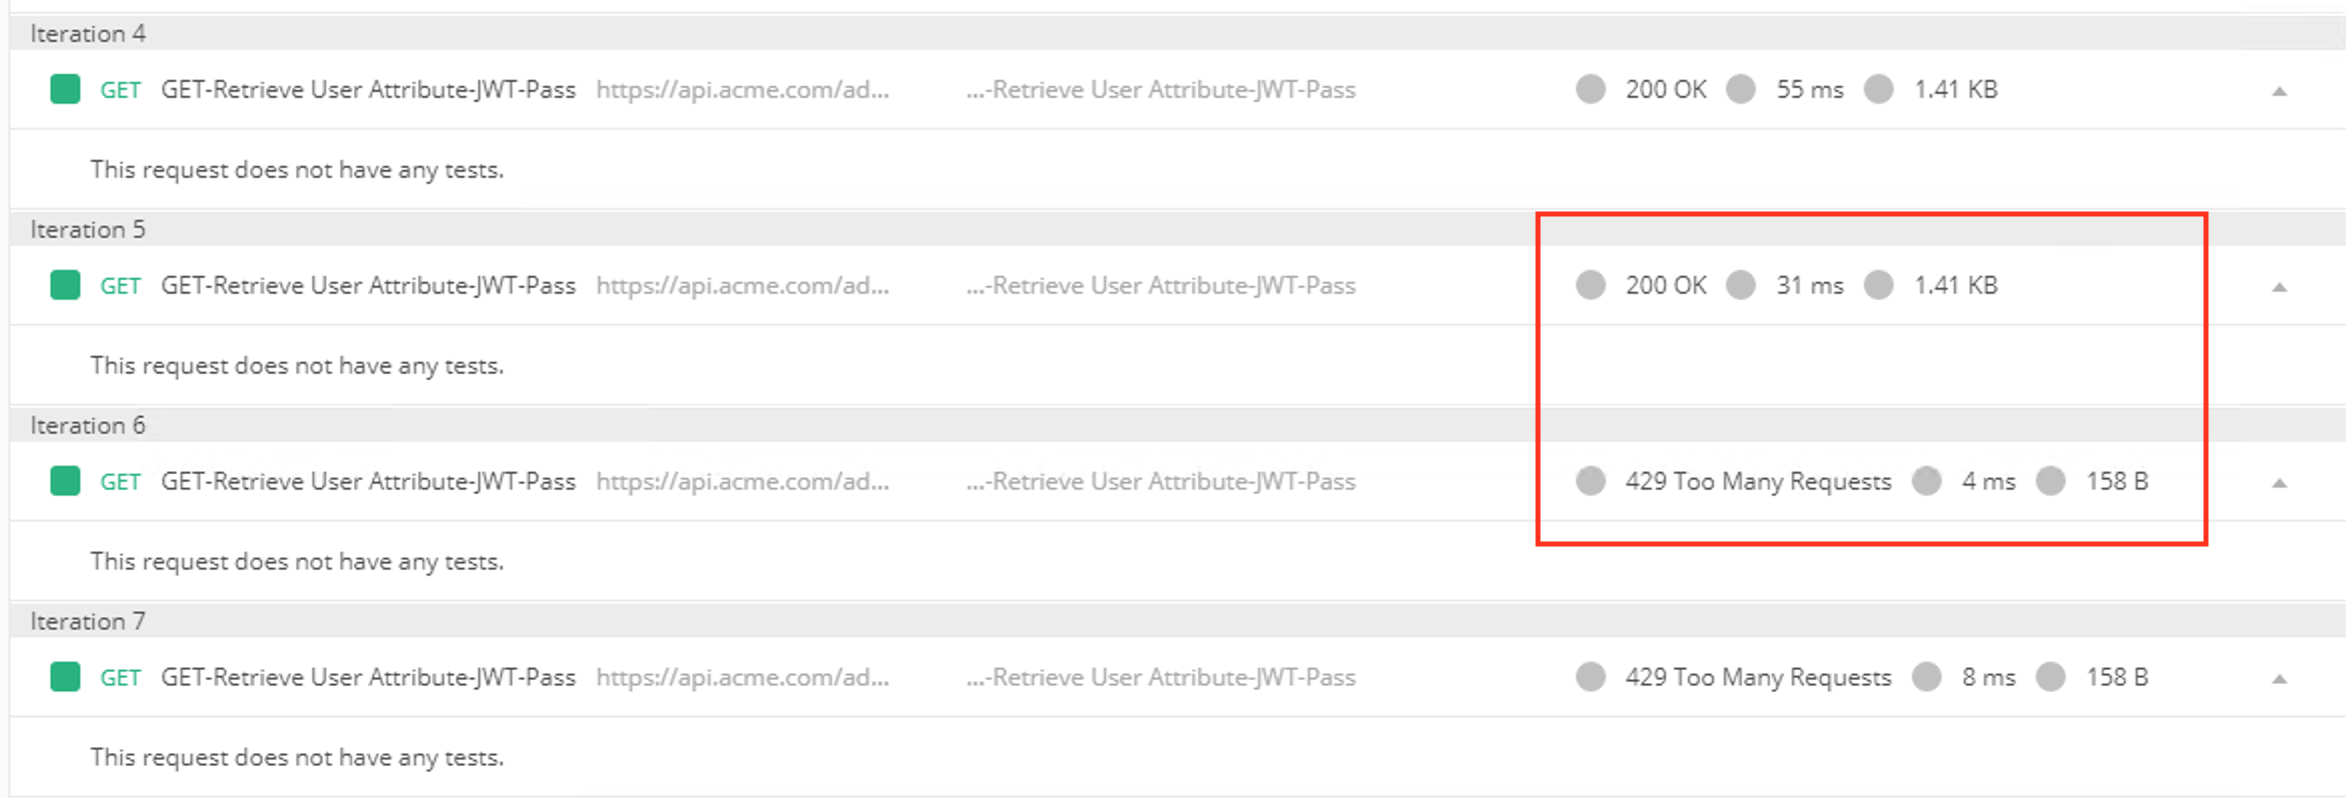
- Click Retry to rerun the request an additional 100 times.
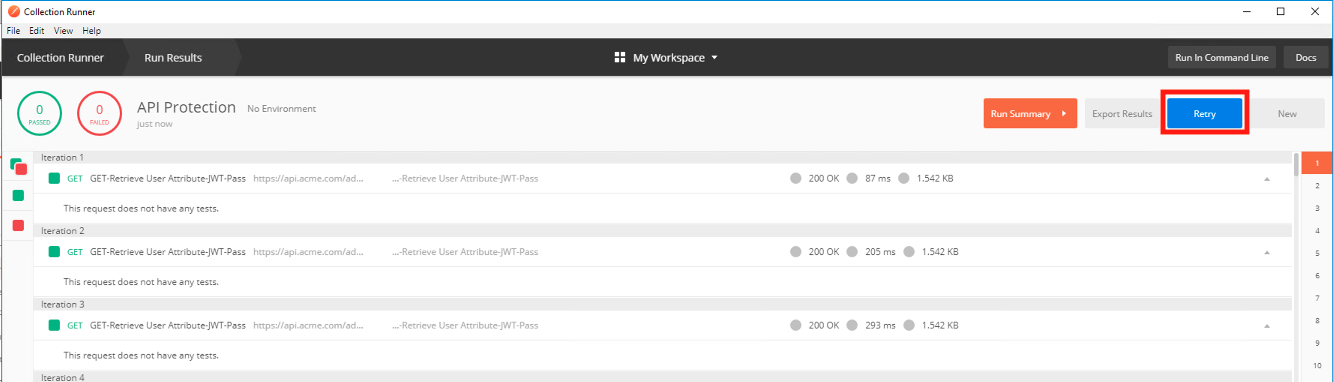
- On the 6th request you begin to receive a 429 Too Many Requests response status code